First we have a SUTTON FLOW FORM 16. The kite measures 3.5 feet by 4.5 feet. You use 125 lb line and I think we have about 500 feet of line. You can buy this kite for about $100.00 or make it yourself if you are feeling adventurous.
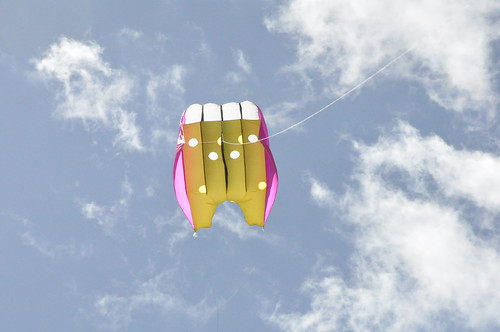
We are realizing today that with less wind and non-steady wind it would be nicer to have a large kite. We're thinking of either making our own Cody Kite or a Rokkaku. A Sutton Flow Form 30 would be nice - yet twice the cost of the 16. Rokkaku's are known for being very steady kites.
Next we needed a camera. We have an old Nikon Coolpix L1. Today you can pick this camera up for about $50.00 if it's refurbished.
Then you need a rig. You can make your own but we went the commercial route and bought one from BROOXES.COM. We went the expensive route here and bought the one that had just about everything included. We bought the Broozes Deluxe KAP Kit that includes all the pieces and the three servos. You just have to put it together.
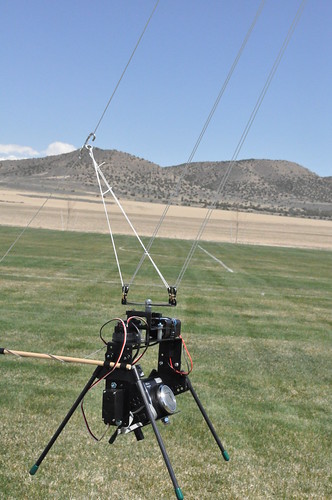
The final product looks like this on the kite lines...
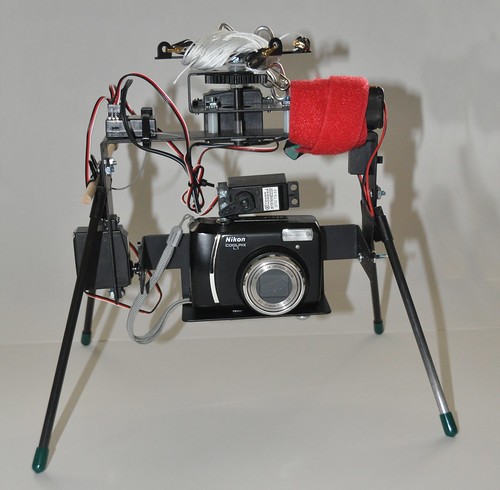
And this picture below is on the ground ready to be stored. The string on the top is used to suspend the rig from the kite while keeping the camera level and steady. The is call picavet suspension. The top servo below this will rotate the entire rig 360 degrees so you can point it in any direction. Just above the camera is another servo that when hit will hit the shutter. To the left of the camera is another servo that will rotate the camera 90 degrees. So it's either looking straight down or even with the horizon. Or of course anywhere in between that 90 degree arch. The only problem with this arrangement is that the power button the Nikon is just under the servo. A little to tight to reach with a finger but a pen works well.
The rig itself with the camera comes in at 1 pound 9 ounces. So you need a kite big enough to lift at least that much weight.
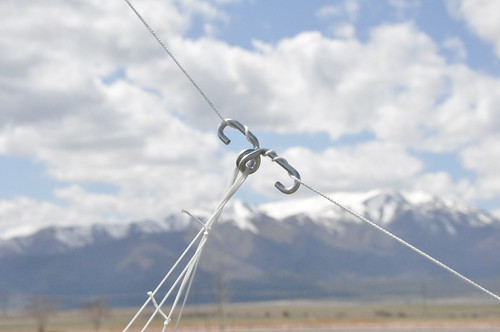
To attach the rig to the kite you use these little things that came with the kit. There are many different choices you can use here. Even a carabiner works well. You just need to wrap the kite string around it a few times so it doesn't slide.
Finally you need an RC until to control the RIG. We bought an entry level one at our local RC store. We paid under $100.00 for it. You can also find these used for less.
First we launch the kite and get it up high enough so it can find steady wind. The wind near the tops of houses will usually be a little rough. Next we attach the rig via the picavet system and leave it all suspended about 5 feet of the ground. We turn on the camera. We then turn on the receiver on the rig and then turn on the hand held transmitter. We check everything one time to make sure we can pan left and right, up and down and take a picture. It's also a good idea to check your knots and for any loose screws or bolts.
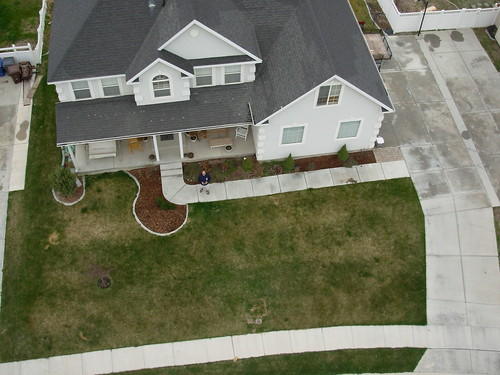
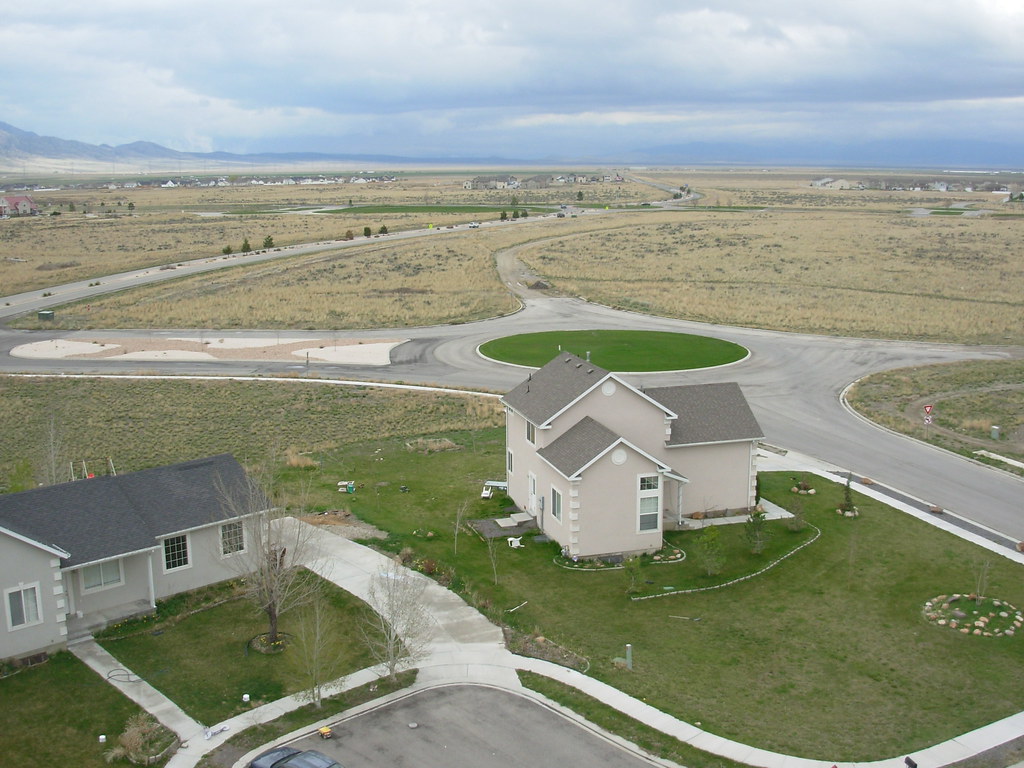
I'll admit - it's a bit hard when the rig is really high to know exactly where it's aiming. There are solutions to this...but we haven't tried any of them yet. The other key to a good shot is not to go to high. You want to be higher then the roof tops but not as high as say an ultralight. The idea here is to get a slightly different view and angle then people are us to.
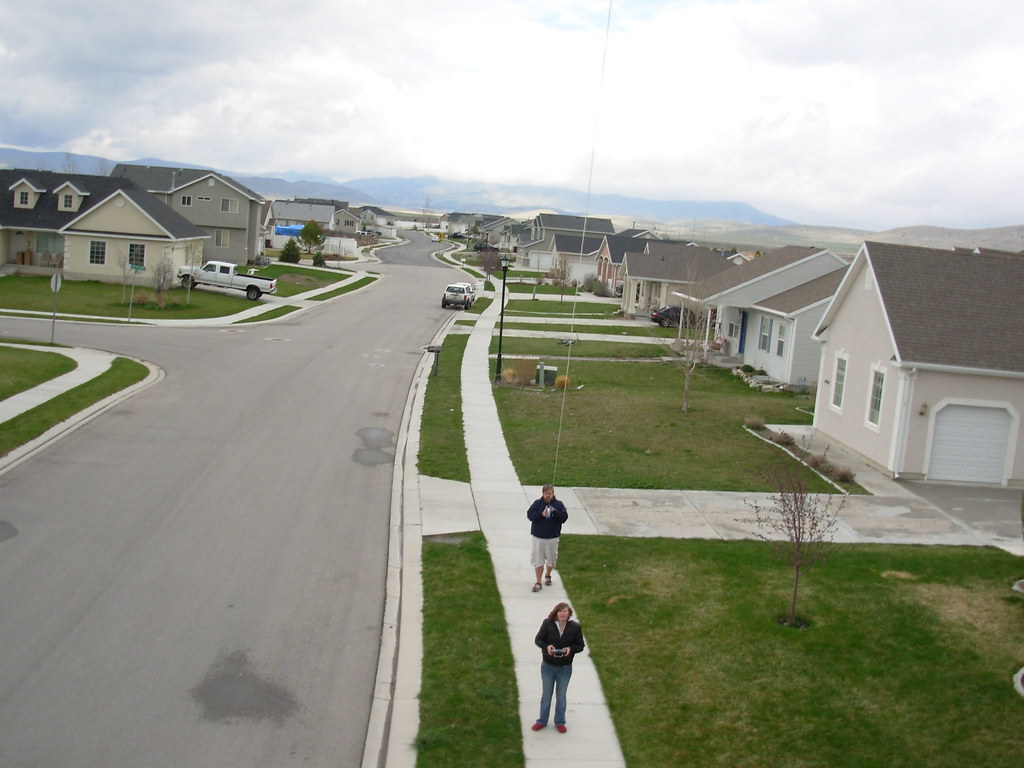
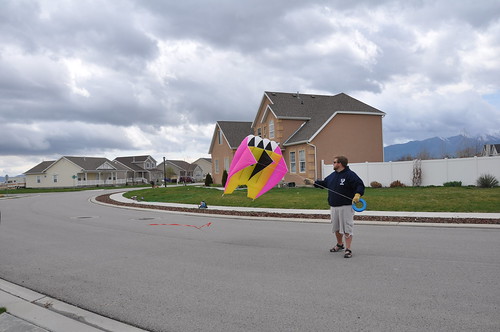
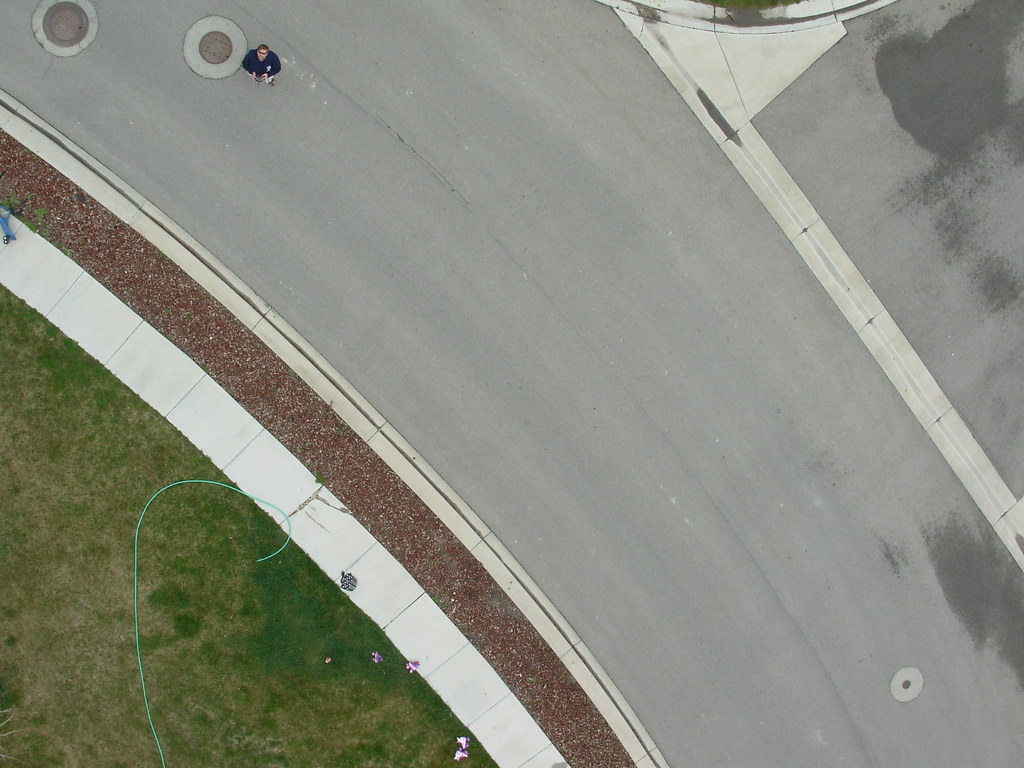
Yup - me in the middle of the street.
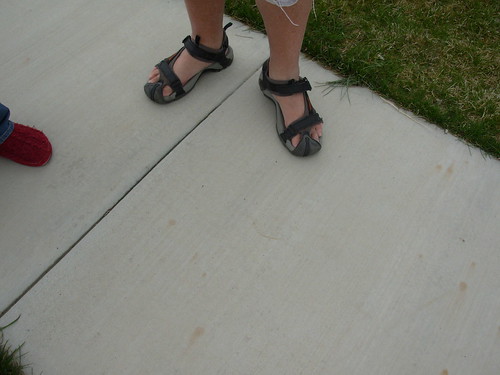
Here you can see me walking backwards with the kite.
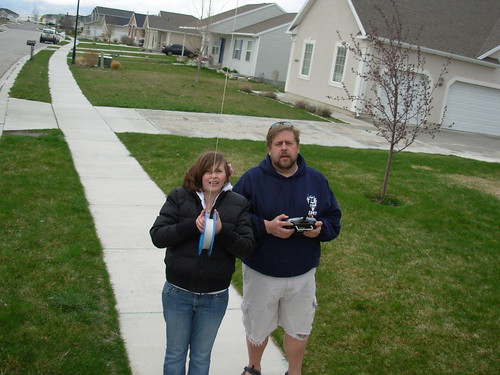
Megan is holding the RC unit and snapping the pictures.